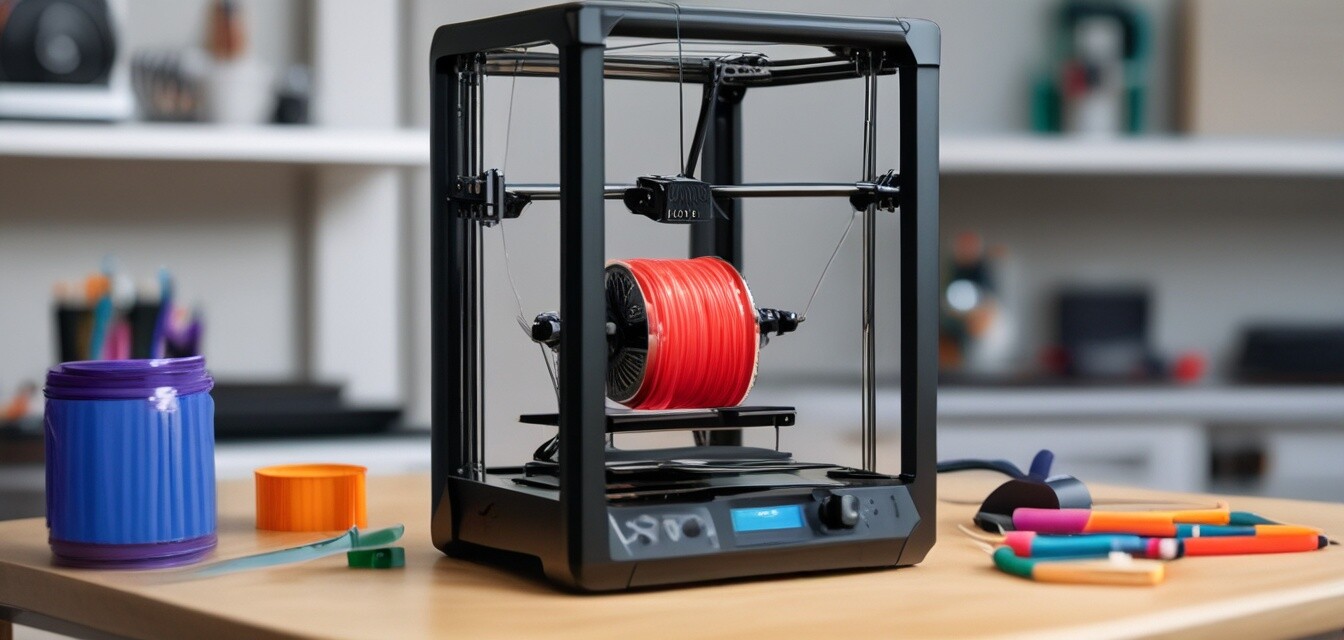
How to Calibrate Your 3D Printer for Optimal Results
Key Takeaways
- Calibration is essential for achieving precise and high-quality 3D prints.
- Regular checks can prevent common printing issues such as warping and layer misalignment.
- Tools such as a digital caliper and leveling tools can simplify the calibration process.
- Consistent maintenance and calibration optimizes printer performance and material use.
- Calibration should be performed after moving the printer, changing filament, or after several prints.
Welcome to our comprehensive guide on calibrating your 3D printer! Ensuring your printer is correctly calibrated can result in high-quality prints while reducing material waste. In this guide, we will walk you through the calibration process step-by-step, offering tips that will benefit both newbies and seasoned users alike.
Why is Calibration Important?
Calibration is a crucial step in the 3D printing process that can significantly influence the quality of your final product. It ensures that the printer settings correspond perfectly with the filament being used and the printer's hardware capabilities.
- Improves adhesion of the first layer.
- Reduces printing errors and material wastage.
- Enhances dimensional accuracy of prints.
- Increases overall print quality.
Tools You Will Need for Calibration
Before diving into the calibration process, gather the following tools:
- Digital caliper
- Bed leveling tool or paper
- Calibration cube (can be printed beforehand)
- Filament for test prints
- Printer's manual
Steps to Calibrate Your 3D Printer
Step 1: Prepare the Printer
Start by ensuring that your 3D printer is clean and free from any debris. Make sure the printer is on a flat, sturdy surface.
Step 2: Level the Print Bed
Bed leveling is one of the most critical calibration steps.
- Use the bed leveling tool or a piece of paper.
- Check the nozzle's distance from the bed at multiple points (corners and center).
- Adjust the bed height using the screws until you achieve the right distance.
- Repeat this process if necessary.
Step 3: Check Extruder Calibration
The next step is to calibrate the extruder. Here’s how:
- Preheat the printer as recommended.
- Use the digital caliper to measure a length of filament.
- Manually extrude the filament and measure the amount extruded.
- Adjust the steps per mm in your printer's firmware if necessary.
Step 4: Print a Calibration Cube
After you’ve adjusted the bed and extruder, print a small calibration cube.
- Ensure to set the filament temperature according to the type of filament being used.
- Once printed, measure the dimensions of the cube.
- Compare the measurements to the expected dimensions (e.g., 20mm x 20mm x 20mm).
Step 5: Make Final Adjustments
Based on the dimensions of your calibration cube, you may need to make final adjustments to either the bed leveling or extruder steps.
Step 6: Recheck and Repeat
Once changes are made, it’s wise to reprint the calibration cube to confirm that the adjustments improved the quality.
Common Calibration Issues and Solutions
| Issue | Possible Causes | Solutions |
|---|---|---|
| First Layer Not Sticking | Bed not leveled, incorrect nozzle height | Re-level the bed and adjust nozzle height |
| Under-extrusion | Incorrect steps/mm in firmware | Calibrate the extruder settings |
| Layer Misalignment | Loose belts or stepper motor issues | Tighten belts and check motor settings |
Maintaining Your 3D Printer for Best Results
Regular maintenance is just as crucial as calibration. Here are some tips:
- Clean the nozzle regularly to prevent clogs.
- Check the belts for tightness and wear.
- Lubricate the rods to ensure smooth movement.
- Monitor the condition of the bed surface for wear and damage.
Conclusion
Calibrating your 3D printer may seem like a daunting task at first, but following these steps can lead to a more efficient and productive printing experience. Remember that regular calibration and maintenance can help you achieve optimal results while minimizing material waste. For those looking to explore more about 3D printing, check our Buying Guides and learn tips for successful printing.
Pros
- Improves print quality and accuracy.
- Reduces waste and filament cost.
- Enhances user experience and satisfaction.
- Able to identify and fix issues promptly.
Cons
- Calibration can be time-consuming.
- Requires some technical knowledge.
- Improper calibration can lead to frustration.
Tips for Beginners
- Always follow your printer's manual for specific calibration settings.
- Don't rush through the calibration process; take your time.
- Use a consistent filament type for more stable calibration results.
- Join online communities for support and advice related to specific printers.
By following the steps in this guide, you can ensure your 3D printer is set for success. Happy printing!